The Epson i3200 is one of the most widely used industrial printheads in DTF printers, UV printers, eco solvent printers, and sublimation printing systems.
Although the i3200 is designed for long-term operation, it may eventually need replacement due to wear, clogging, electrical damage, or improper maintenance.
Replacing a printhead correctly is essential for protecting your printer and achieving the best print quality.
This guide explains the replacement process, necessary tools, and precautions before installing a new Epson i3200 printhead.
When Should You Replace an Epson i3200 Printhead?
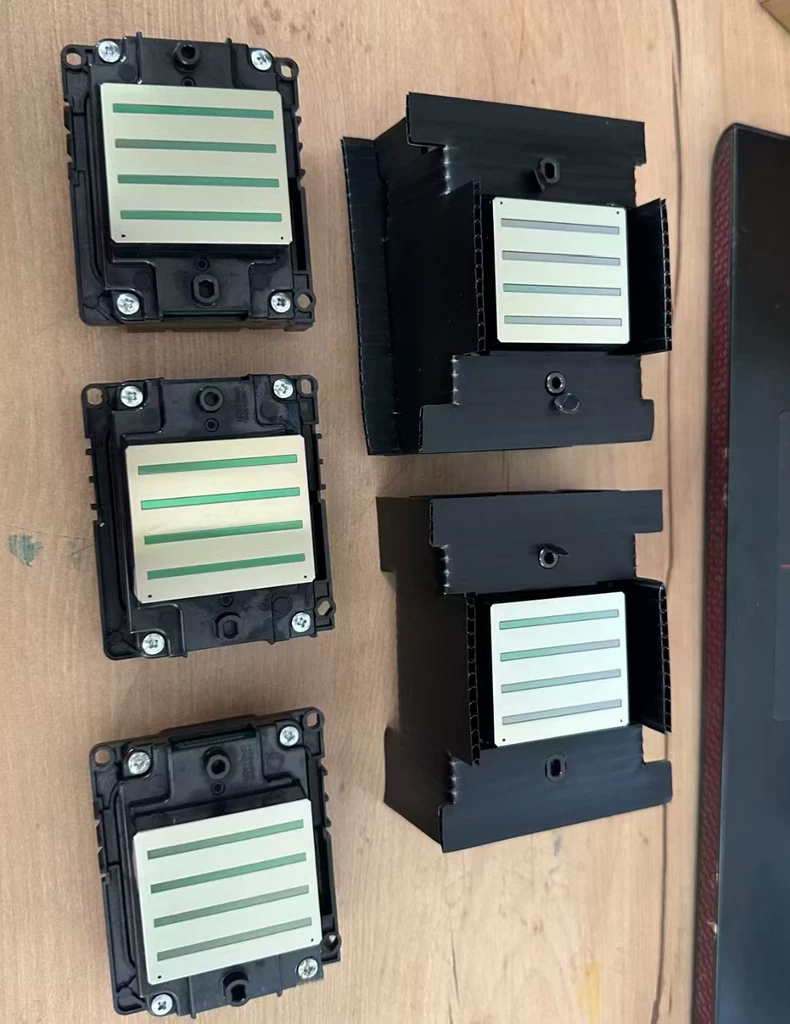
Common signs include:
- Missing nozzles that cannot be recovered
- Frequent nozzle dropouts
- Permanent banding
- Electrical errors
- Ink leakage inside the printhead
- Physical damage
- Poor print quality after repeated cleaning
If these problems remain after proper troubleshooting, replacing the printhead may be the best solution.
Image Caption
Damaged Epson i3200 Printhead
Tools You’ll Need
Prepare the following before starting:
- New Epson i3200 printhead
- Screwdriver set
- Lint-free gloves
- Cleaning solution (compatible with your ink type)
- Syringe (if recommended by the printer manufacturer)
- Lint-free wipes
- Flashlight
Image Caption
Tools for Replacing an Epson i3200 Printhead
Step 1: Turn Off the Printer
Before opening the printer:
- Finish all print jobs.
- Power off the printer.
- Disconnect the power cable.
This reduces the risk of electrical damage.
Step 2: Move the Printhead Carriage
Move the carriage to the maintenance position according to your printer manufacturer’s instructions.
Avoid forcing the carriage manually if it is locked.
Image Caption
Printer Carriage in Maintenance Position
Step 3: Remove the Ink Dampers
Carefully disconnect the ink dampers from the printhead.
Check for:
- Ink contamination
- Cracks
- Air bubbles
If the dampers are worn or leaking, replace them at the same time.
Image Caption
Removing Ink Dampers from Epson i3200
Step 4: Disconnect the Printhead Cables
Carefully unplug the flat ribbon cables.
Important:
- Do not pull on the cable itself.
- Hold the connector firmly.
- Avoid bending or scratching the cable contacts.
Damaged ribbon cables can cause communication errors.
Image Caption
Disconnecting Printhead Ribbon Cables
Step 5: Remove the Old Printhead
Unscrew the mounting screws.
Lift the printhead gently.
Avoid:
- Touching the nozzle surface
- Dropping the printhead
- Scratching electrical contacts
Image Caption
Removing the Epson i3200 Printhead
Step 6: Install the New Printhead
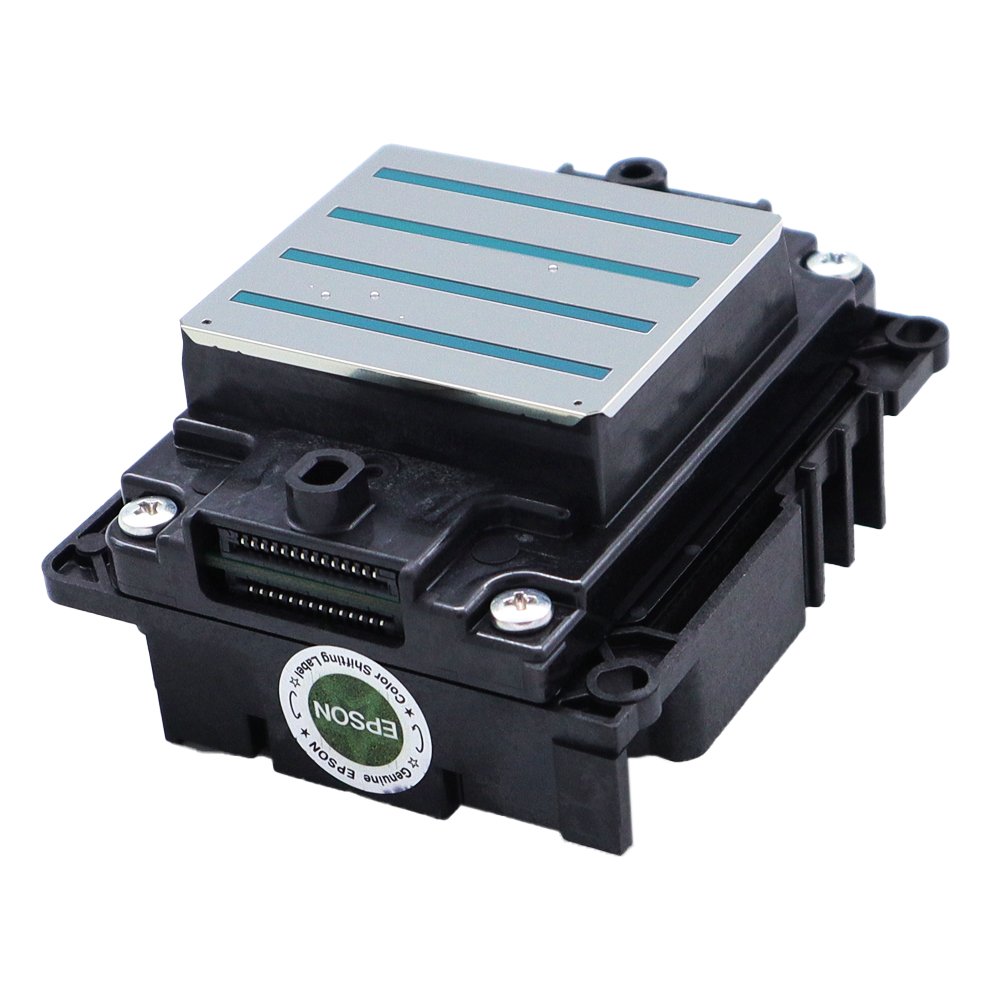
Position the new printhead correctly.
Tighten the mounting screws evenly.
Do not overtighten, as excessive force may damage the mounting bracket or affect printhead alignment.
Image Caption
Installing a New Epson i3200 Printhead
Step 7: Reconnect the Ribbon Cables
Reconnect every cable carefully.
Check that:
- All connectors are fully inserted.
- Cable orientation is correct.
- No pins are bent.
Improper cable installation may prevent the printer from recognizing the printhead.
Step 8: Reinstall the Dampers
Reconnect the dampers securely.
Ensure there are:
- No ink leaks
- No loose connections
- No trapped air
If necessary, follow your printer manufacturer’s priming procedure.
Image Caption
Installing Ink Dampers
Step 9: Perform Ink Charging
Most printers require an initial ink charging or priming procedure after printhead replacement.
This helps:
- Fill the ink channels
- Remove air
- Prepare the printhead for printing
Follow the maintenance procedure recommended by your printer manufacturer.
Step 10: Perform Nozzle Check and Calibration
After installation:
- Print a nozzle check.
- Perform head alignment if your printer supports it.
- Verify print quality before starting production.
Image Caption
Nozzle Check After Printhead Replacement
Common Mistakes to Avoid
Avoid these common errors:
- Touching the nozzle surface
- Installing the wrong printhead model
- Mixing incompatible inks
- Using damaged ribbon cables
- Forgetting printhead alignment
- Ignoring air bubbles in the ink system
These mistakes may reduce print quality or shorten printhead life.
Tips to Extend Printhead Life
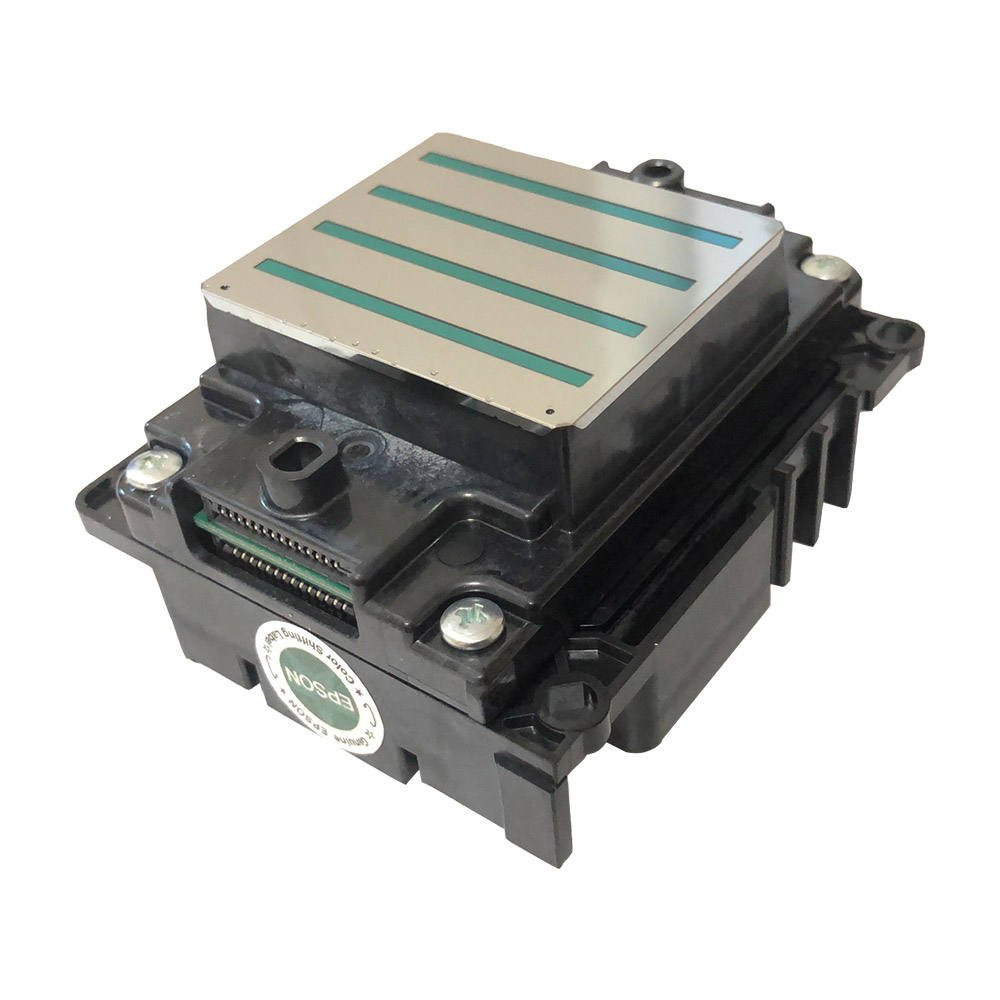
After installing a new printhead:
- Perform daily nozzle checks.
- Use high-quality inks.
- Keep the capping station clean.
- Replace worn dampers.
- Maintain proper humidity and temperature.
- Run regular cleaning cycles only when necessary.
Proper maintenance can significantly extend the service life of your printhead.
Frequently Asked Questions
Can I replace an Epson i3200 printhead myself?
Yes, if you are familiar with your printer model and follow the manufacturer’s service instructions. If you are unsure, seek assistance from a qualified technician.
Do I need to replace the dampers?
Not always, but replacing old or contaminated dampers together with a new printhead is often recommended to help maintain stable ink delivery.
Should I calibrate the printer afterward?
Yes. A nozzle check and, where applicable, printhead alignment should be performed after replacement.
Can I use any cleaning solution?
No. Always use a cleaning solution that is compatible with your printer’s ink type (such as aqueous or UV). Using the wrong solution may damage the printhead.
How long does it take to replace an Epson i3200 printhead?
The replacement itself may take 30–60 minutes, depending on the printer model and the technician’s experience. Additional time may be required for ink charging and calibration.
Conclusion
Replacing an Epson i3200 printhead is a straightforward process when performed carefully and according to your printer manufacturer’s instructions.
Using the correct replacement procedure, compatible consumables, and proper post-installation calibration can help restore print quality and maximize the lifespan of your new printhead.
Regular maintenance after installation is equally important to keep your printer operating reliably and efficiently.
Looking for Genuine Epson i3200 Printheads?
WhatsApp: https://wa.me/8619501858091
We supply genuine Epson i3200 printheads, DTF printers, UV printers, eco solvent printers, inks, spare parts, and technical support for customers worldwide.